Which Beginner Photographer Mistakes Are There?
We all make mistakes. In fact, making them is the best way to learn new skills and grow creatively. Especially as a beginner photographer, trial and error is essential to understanding your gear and how to use it. But why spend years learning the ropes when you can build on the knowledge of others? The good news is: you’re in luck, budding photographer. Here are eight of the most common photographer mistakes that beginner photographers make and how to fix them. So, before you throw your camera out the window or buy (even more) expensive gear, check out these tips below.
1. Not Shooting with Intention
With the onset of digital photography, it’s become easy to push the shutter at every remotely interesting subject. We no longer have to worry about our film roll running out or the costs of developing our photos. Yet, this also means that many beginners develop the habit of pointing and shooting without intention. The result: mediocre shots with uninteresting subject matter.
Photography is about telling a story – whether it’s through one shot, or a photo series. That’s why “less is more” is often the way to go. So, when you are at a location, focus on making your shots intentional and well thought out. This way, you’ll have several shots you’re happy with, instead of many shots you’d rather delete (and let’s face it, nobody wants that). Some helpful questions to ask yourself on location are: “What do I want to communicate with this shot?” “Which angle best tells my story?” and “What do I include or exclude in the frame to make an impression?”
2. What the Frame
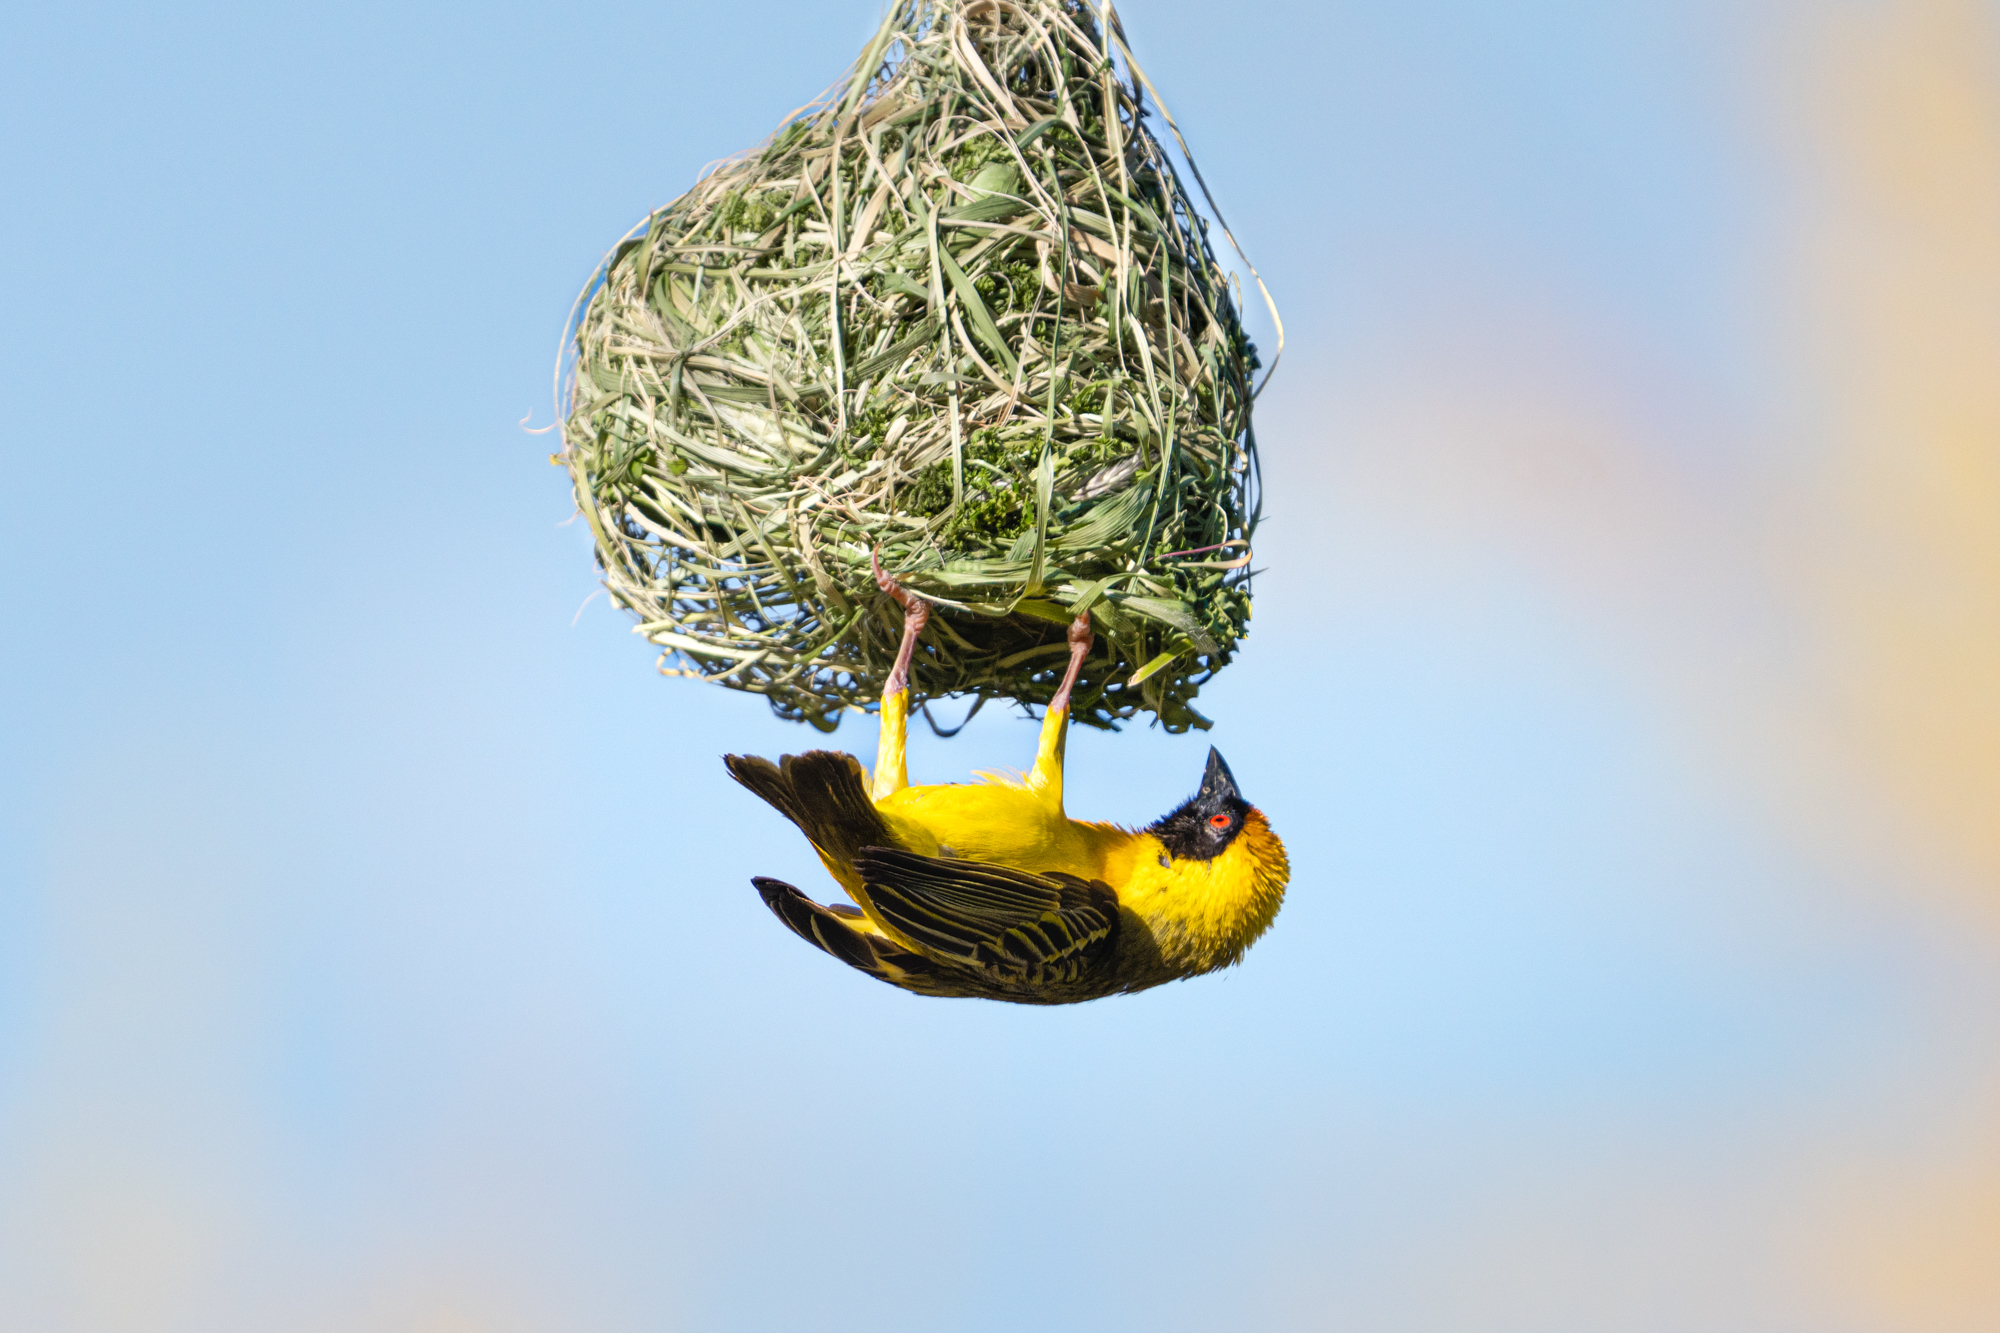
Besides shooting with intention, composition can also make or break a photograph. Many times, beginners fall into the trap of limiting their framing to one specific spot at a location. Getting stuck at an angle means that you’re missing out on all the other creative ways to tell your story. Finding more interesting angles (and getting close to your subject!) makes your shot more interesting – it’s that simple.
Some good starting points to practice composition are the Rule of Thirds, Golden Mean and Leading Lines. And when you’ve mastered those, try shooting from above or below the subject to add more dynamics to your photo. Be picky with your framing. Too much in a frame can be overwhelming and distractions can draw the eye away from your subject. Most importantly, do yourself a favor and level your horizon. You can do this by either using a tripod or a virtual in-camera horizon. And finally: remember to rotate your camera once in a while to shoot in portrait mode. You’d be surprised how much the results can change.


3. Failing to Plan
“Fail to plan, plan to fail”. There’s a good reason this quote exists. In a perfect world, we would arrive at a location under ideal conditions and create the exact shot in our mind’s eye. But, the world is not perfect and neither are we. Things like the weather, lunar cycle, sun path, and the location itself can all impact our success. This is one of the primary reasons why beginner photographers fail to get the shot.
Planning for a shoot is something both beginners and professionals should do. It increases our chances of getting the shot we intended. That’s why checking the weather, location accessibility, moon cycle, and position of the sun is important. There are many apps, which allow you to better plan your shoot. The Photographer’s Ephemeris, Sun Surveyor, StarWalk, Lightning Finder, Google Earth, and Peak Finder are some of them.
Read also: Nature Photography on a Budget – Essential Tips for Beginners
4. Lighting, Lighting, Lighting
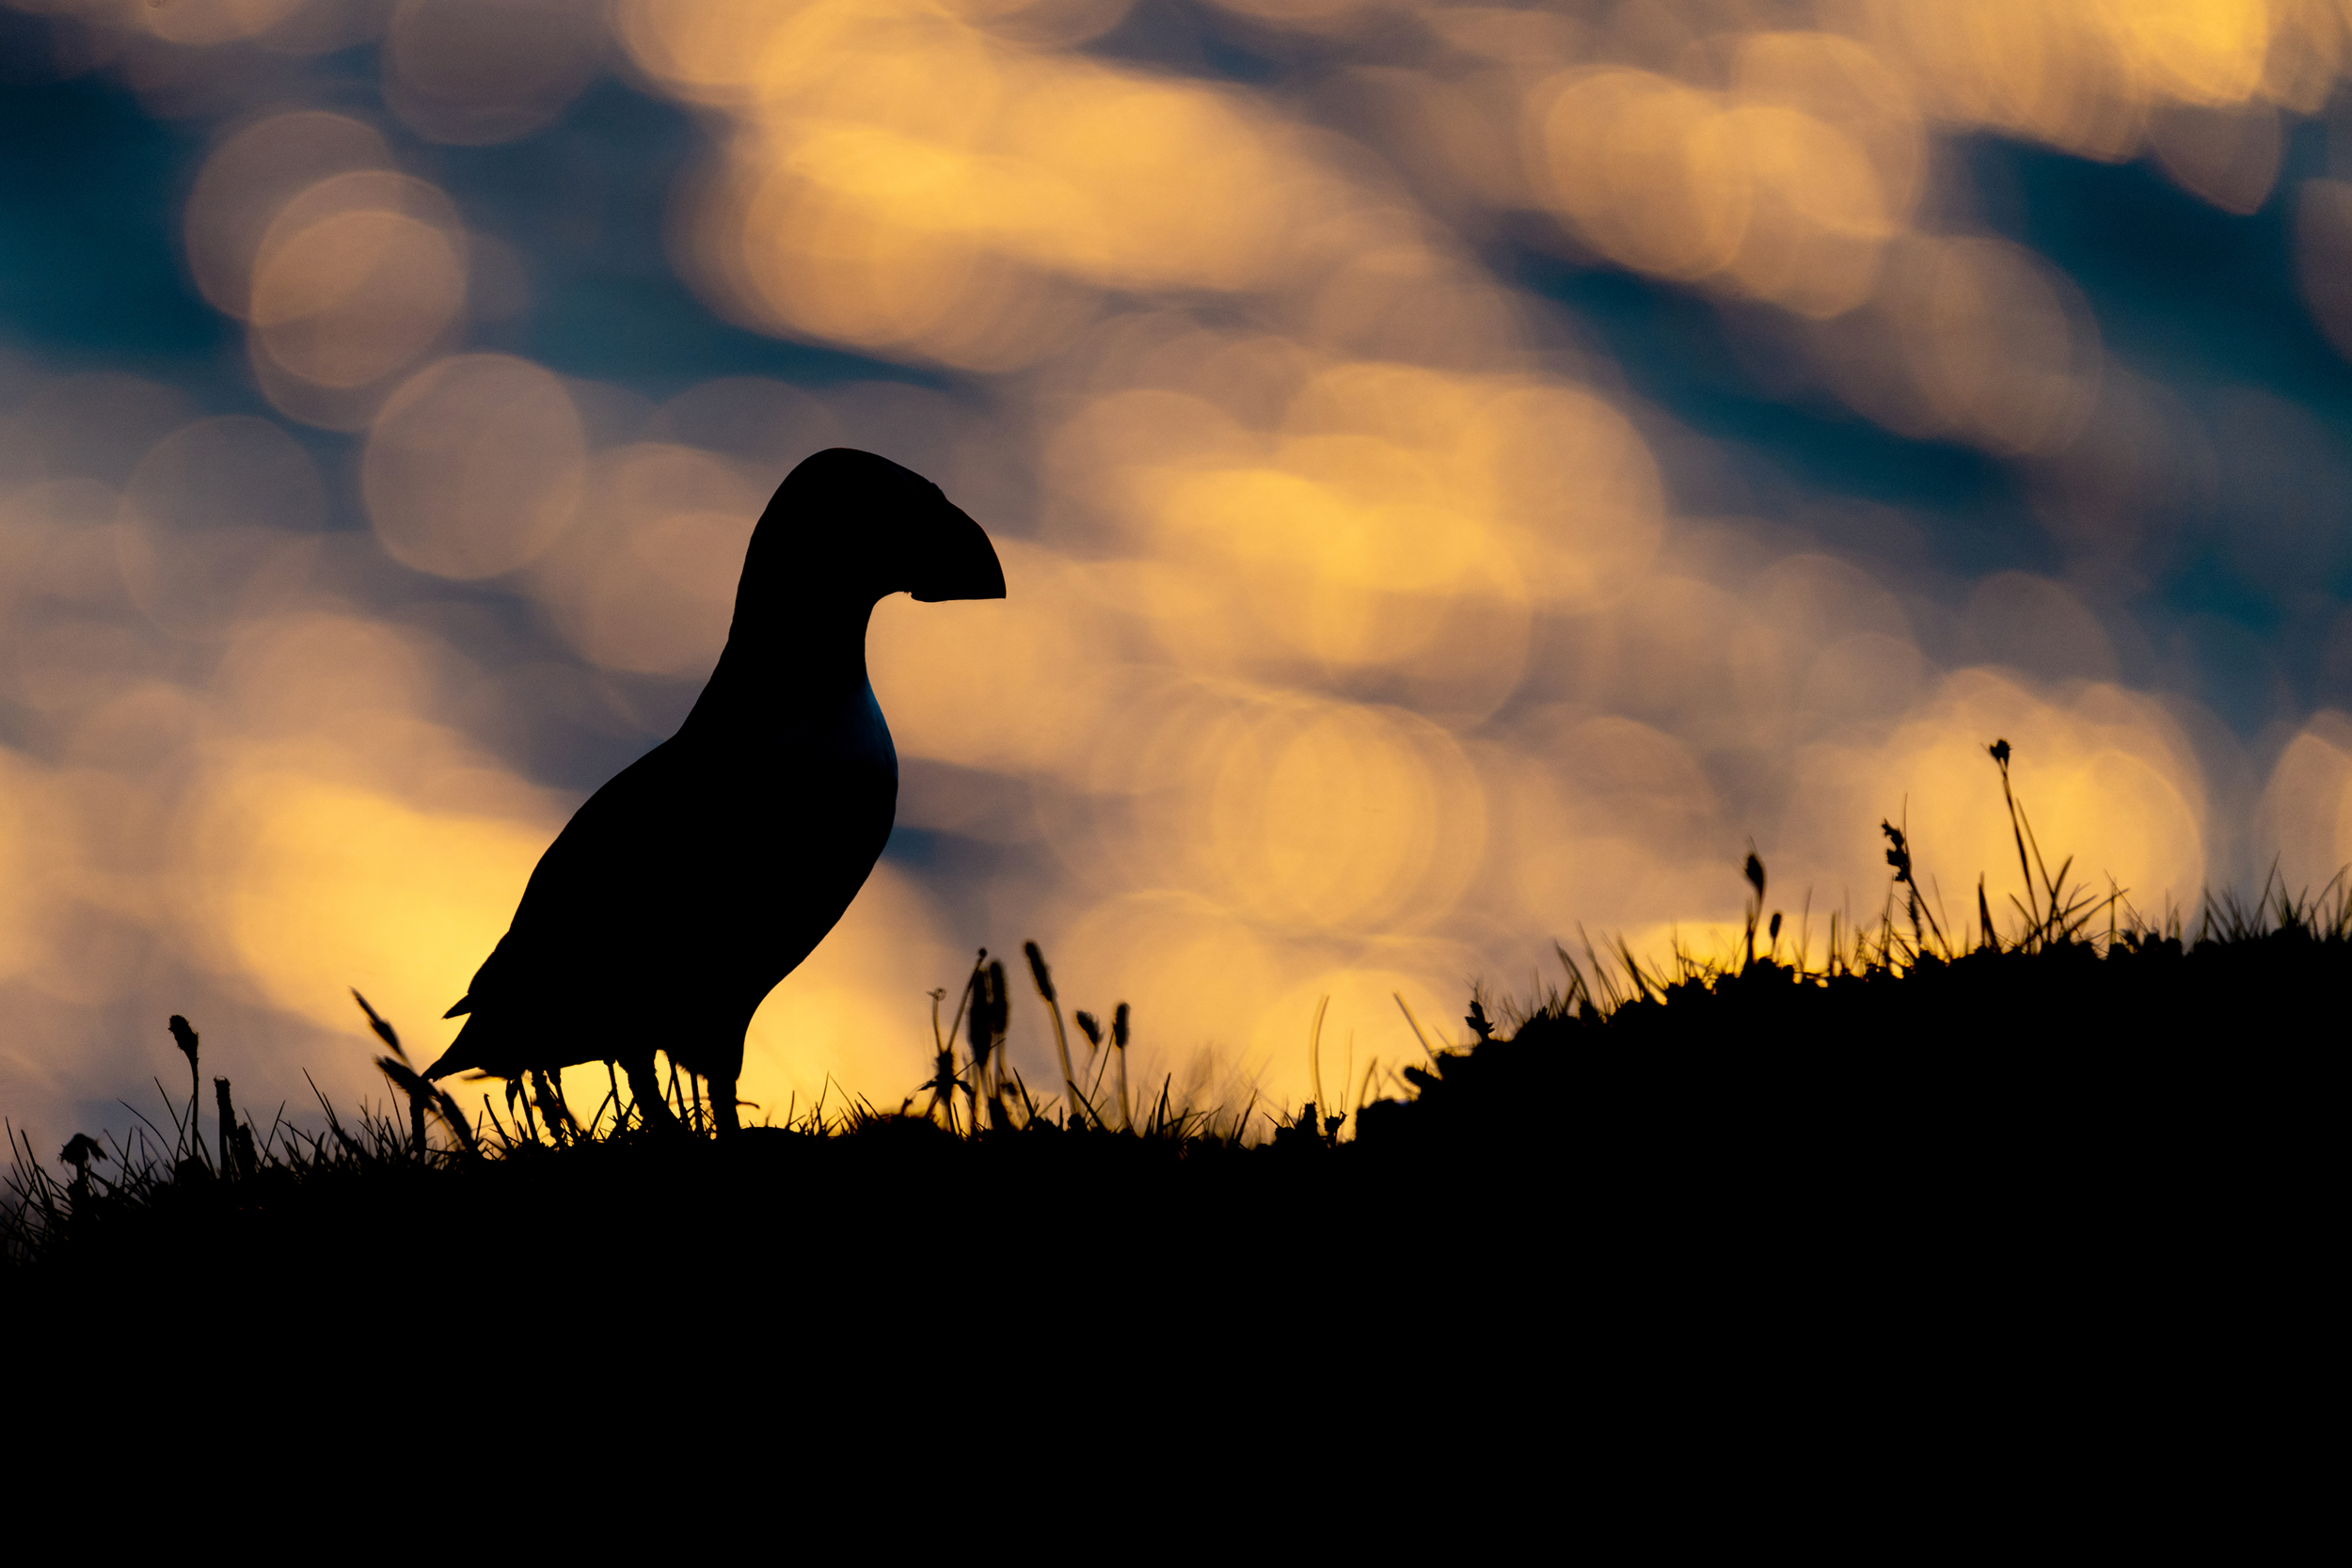
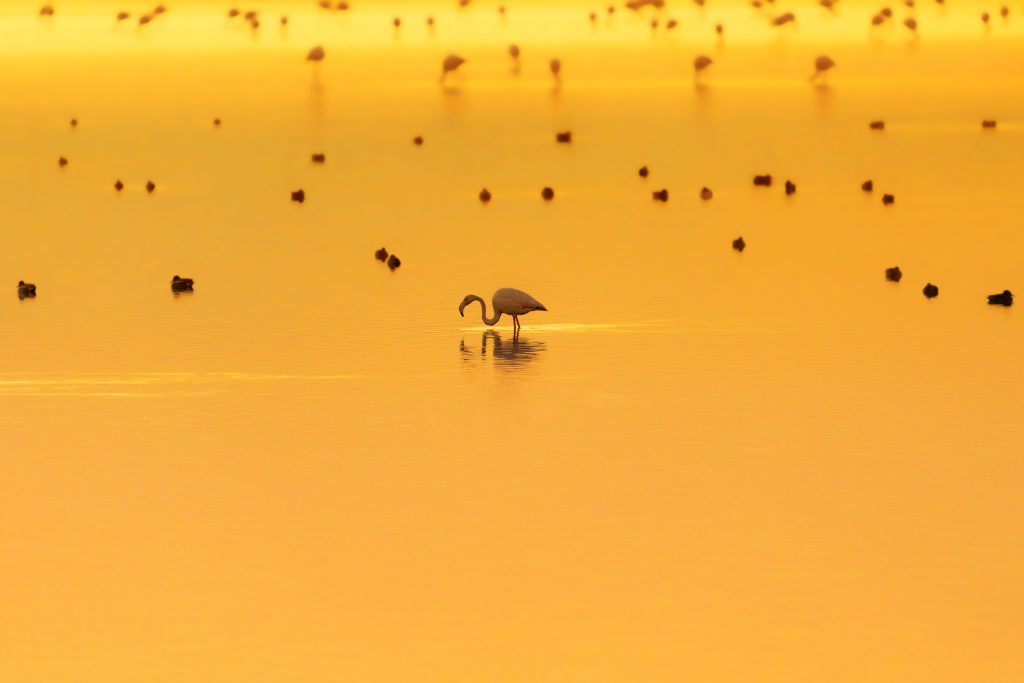
To build off of the last point: lighting is the absolute most important component when taking a shot. It can drastically improve your photographs and creates atmosphere in the image. Especially at beautiful locations, beginner photographers are often eager to click the shutter. As a result, they forget to pay attention to the lighting. The outcome is a mediocre shot with hard shadows and an uneven exposure.
So, what’s the best way to fix photographer mistakes ? The answer is: patience, young one. Shooting around sunrise and sunset are the best times to get atmospheric shots. Cloudy days also create more diffused light, which exposes shots more evenly. And if you’re eager to get some hard light into the shot, the first step is to check the position of the sun. Also, think about how you can best position yourself to get that interplay of light and shadow. A good example is when shooting mountains – here, it’s a good idea to shoot the sun from the side, to create depth in the shot.


5. Shooting in Automatic Mode
Many newbie photographers are afraid of shooting in manual mode. That’s why they tend to start using their camera with automatic settings. This is not one of the photographer mistakes per-se. Yet, shooting all your photographs in automatic mode causes two things to happen. Firstly, you have no creative control over your shot. Secondly, you do not learn how to use your camera properly.
The best way to learn how to use manual mode as a beginner is to start by using one setting at a time. For starters, try adjusting your aperture, while keeping all the other settings in automatic mode. By gradually learning to adjust ISO, aperture and shutter speed, you can familiarize yourself with each function first.
6. The Blurry, Grainy & Over-Exposed Shot
Speaking of camera settings, this one’s a frequent photographer mistakes. When starting out in photography, many newbies do not learn about the exposure triangle and different focus modes. The result can be, well, “artistic”…if you’re into blurry, grainy and over-exposed shots.
While this is bound to happen to all rookies, there are several things you can do to avoid these mistakes. A simple way to ensure proper focus is to set your shutter speed to at least 1 over your focal length. This means that if you’re shooting at 50mm, your shutter speed should be 1/50 or higher. Additionally, to avoid excessive camera grain, it’s important to keep your ISO low. There are two quick ways to resolve this. One: by decreasing your aperture. Two: using a tripod in combination with a slower shutter speed. Finally, to avoid over- or underexposure, learning to read a histogram is a must. To understand the Exposure Triangle, my guide below can help you master the basics.
7. Shooting in JPEG
“I love editing my photos in JPEG,” said no professional photographer ever. While there’s no rule saying that photographers must shoot in RAW, there’s a good reason most of them do. Shooting and editing in RAW preserves a lot more image data. This means that you can recover more detail from the highlights and shadows in post-processing.
In contrast, shooting in JPEG means your camera automatically adjusts things like white balance, saturation, and sharpness before compressing the image into a smaller file. At first, this may seem like less work. But here’s the deal, my friends. With JPEGs, you cannot recover the details in your image. On top of that, presets are applied to the light data your sensor records. This limits your creativity, reduces image quality, and restricts your post-processing.


8. Over-processing & “Fixing in Post”
Speaking of post-processing: another common photographer mistakes make is over-editing their photographs. The result: your shots look unrealistic, over-processed and lose their charm. When adjusting contrast, saturation, brightness, and white balance, there’s a fine line between too much and too little . A good place to start is to calibrate your monitor. By doing that, you’ll get an accurate picture of your color adjustments. Another helpful technique is to edit in a darkened room. This allows you to control your edits under more consistent lighting conditions. And take lots of breaks when processing your shots – your eyes and your photos will thank you later.
Another dangerous trap to fall into as a newbie is thinking you can fix your images in post. It’s much more difficult to force an image into something it’s not, as opposed to getting it right in-camera. On top of that, exposure mistakes can be very difficult, if not impossible to correct. Shooting under the right lighting conditions and camera settings saves long-hours with Adobe Photoshop. That’s why it’s important to do your best to get your photos right in-camera. The ultimate reward? Better photographs and a happy photographer.